Palatable
WoodWorking
Navigation:
Projects
|
Reviews
|
Tips
|
Links
|
About
Craftsman Professional Table Saw Review Photos
Craftsman Review Home
[Image set
1
]
[Image set
2
]
[Image set
3
]
[All in one]
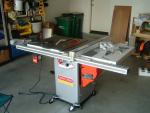
craftsman
The saw weighs in at over 400 lbs, so bring a friend.
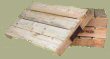
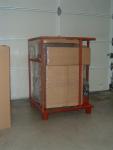
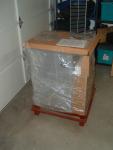
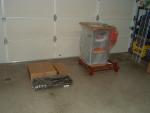
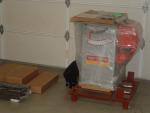
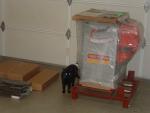
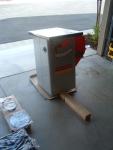
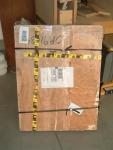
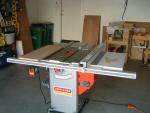
This is what you will take home from Sears.
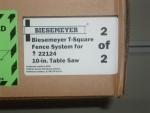
2 of 2
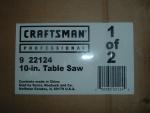
1 of 2
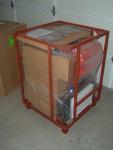
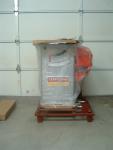
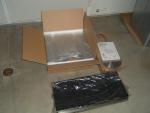
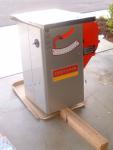
Here is what you get when the box comes off.
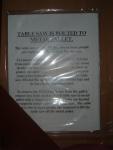
Instructions are easy to get to.
Certain parts are affixed to the top.
The cast iron wings are stored on the side.
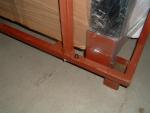
There was a warning in picture 13 that the saw was bolted to the frame. This is proof.
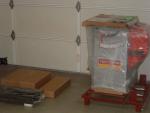
Another exciting angle.
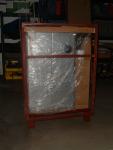
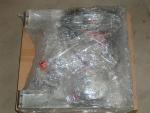
The saw had excellent packaging.
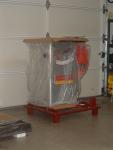
Top down view.
Starting to take all the parts out.
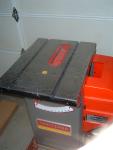
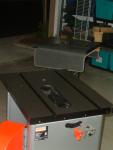
The saw is recognizable now.
The saw is recognizable now.
The saw is recognizable now.
The saw is recognizable now.
The saw is recognizable now.
Peeled off the plastic wrap.
Peeled off the plastic wrap.
Like everything else the motor was well secured.
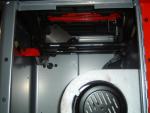
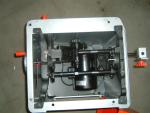
Does not look like much is going on in here.
Cast Iron wings and rear outfeed table.
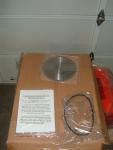
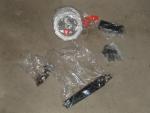
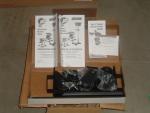
Stuff that comes with the saw.
Stuff that comes with the saw.
Stuff that comes with the saw.
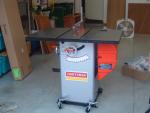
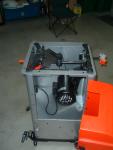
Starting the process of installing the mobile base.
I was working alone so I improvised.
Mobile base was installed in a flash.
My third hand for the wing installs.
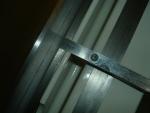
This was the only damage I found on the saw.
My third hand for the wing installs.
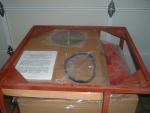
There was substantial dishing on the first table top.
What is this saw missing?
No fence on the saw yet.
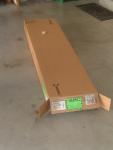
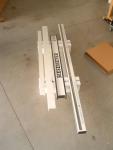
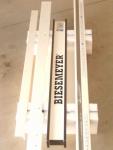
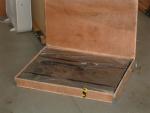
Box 2 of 2 the Biesemeyer fence.
Again a well package product.
This is a good enough reason to get the saw.
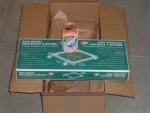
Good things come in small packages.
Does not seem like there is much in the box.
More than enough to wheel a 400lb saw around.
This is the replacement saw top.
It took a few weeks to arrive.
Both tops here.
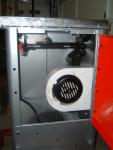
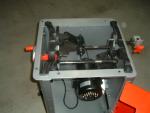
Here are a few pictures of the inside.
The trunnions are mounted to the cabinet. The four holes will secure the top.
One last picture before the top goes back on.
To level the wings I used shims made from a soda can.
Here is the top with both wings installed.
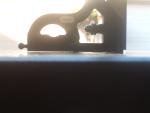
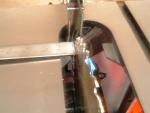
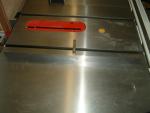
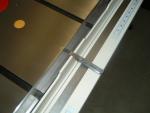
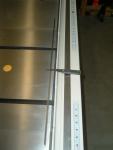
The ruler is flush with the splitter. You can see how far off it is from the blade.It took a fair amount of tweaking to make it acceptable.
Here is a visual of the alignment issue.
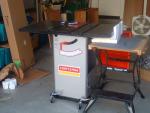
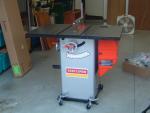
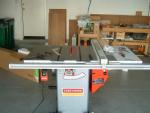
All together now.
From the front.
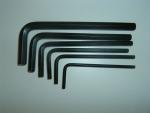
There are six allen keys for the saw. It take 3 to fully adjust the blade insert.
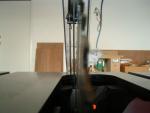
Just cut my first board. It works.
I measured .20 mm of dishing here.
I measured .20 mm of dishing here.
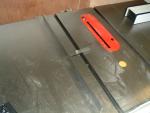
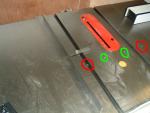
The red circles are improperly milled stops. The green circles are the second try, and correct.
Another .20 mm
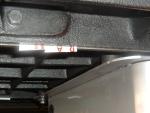
Hopefully you can read this.
Hopefully you can read this.
Last shot.
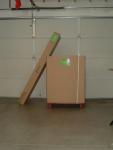
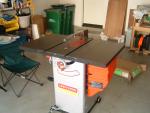
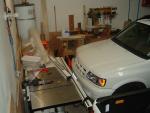
Why space is important to me.
Why space is important to me.
Why space is important to me.
[Image set
1
]
[Image set
2
]
[Image set
3
]
[All in one]
This page
created
on 2005-06-14.